A door that cannot close because it hits the door jamb (or the dost post of the door frame) is problematic, but we can fix this problem.
While we can remove the door completely (no door, no problem, right?), let’s get to the heart of the problem and adjust the jamb so the door clears and is no longer sticking.
Step-by-step Guide on How to Fix a Door That Won’t Close
Here are the steps to … get you out of a jamb.
Step 1 – Measure

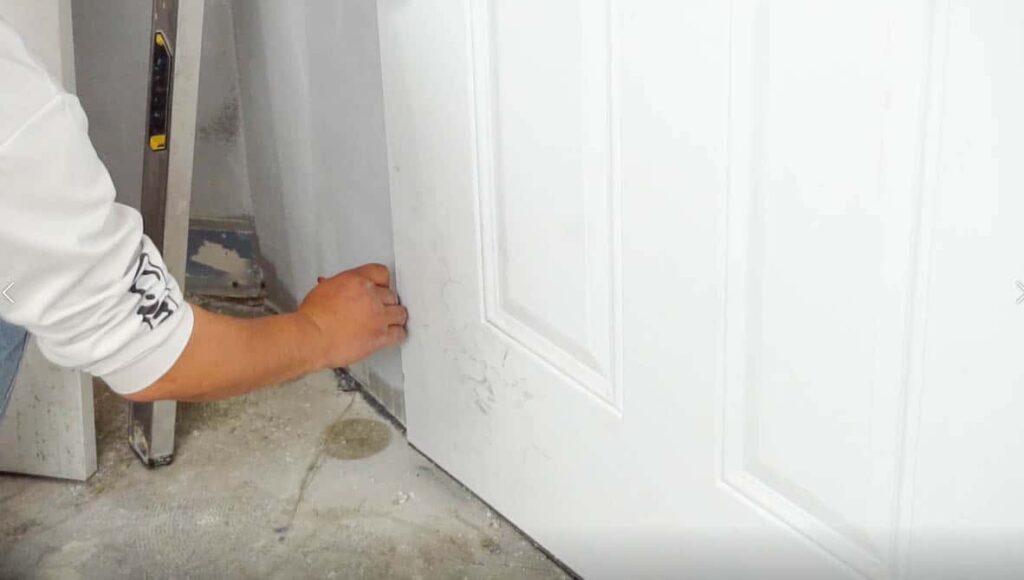
Measure how much you need to move the jamb. This will generally be a very small measurement – a ¼ or a ½ inch is enough to prevent a door from closing from overlapping with the jamb.
Step 2 – Score The Distance
Take this measurement and score that distance away from the jamb on the drywall. We don’t want to cut into the jamb; we want to mark behind it and adjust the frame that way.
At this point, only mark the area that you are planning to shave off; do not cut all the way through yet.

Step 3 – Move Any Screws
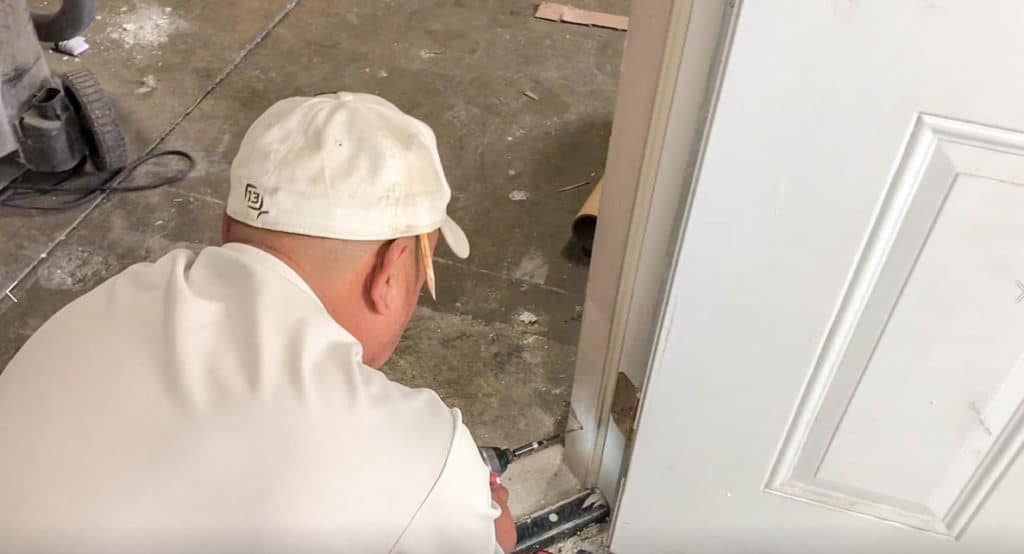
Next, remove any screws attached to the jamb at the bottom 12 to 16 inches of the door on both sides of the door frame, especially where the door is sticking. You want to do both sides to allow the jamb some flexibility so it does not break from the tension.

Step 4 – Cut and Shave Off The Area
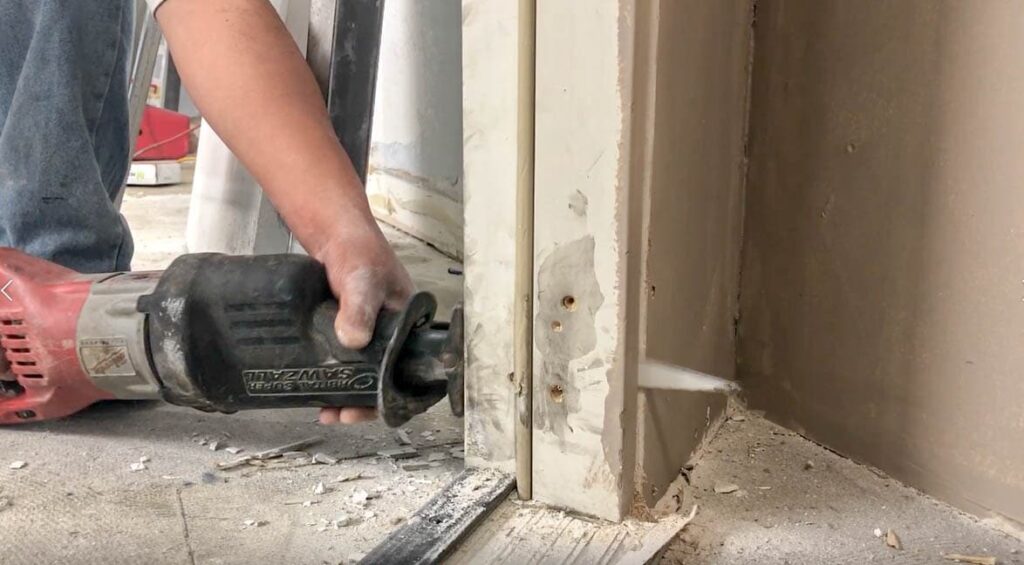
Once you have removed the screws and impediments from the affected area, then cut and shave off the area behind the jamb, including the drywall and anything behind it like the studs and shims.
A multipurpose tool or a Sawzall blade (reciprocating saw blade) is recommended. Depending on the individual door, you may need to remove screws from the threshold (the bottom plate) of the door.

Step 5 – Move the Jamb to the New Position
Using a pry bar or shim, move the jamb to the new position. Swing the door to see if it clears the jamb and closes properly.
Also, check to make sure that the reveal (the gap between the door and the jamb) is consistent from the top gap to the center to the bottom distance.

Step 6 – Nail 3-inch Framing Screws to Secure the Jamb
Lastly, once you have the jamb in position, nail three-inch framing screws to secure the jamb into position. If you have any outstanding shims, cut them down using a multi-purpose tool or a knife. You are now able to reinstall your door trim.

For more home remodeling tips and videos in this series, visit the Best Online Cabinets blog!


