Recessed can, or “canister” lights, not only add more brightness to a room but also give your kitchen a high-end look. This DIY project will involve equal amounts of planning and execution, with a little bit of help from a friend, to get your kitchen to light up!
Tips on How You Can Install Recessed Can Lighting
If you’re up for this DIY project, check out the tips below for how to do it yourself at home.
Tools Needed To Install Recessed Can Lighting
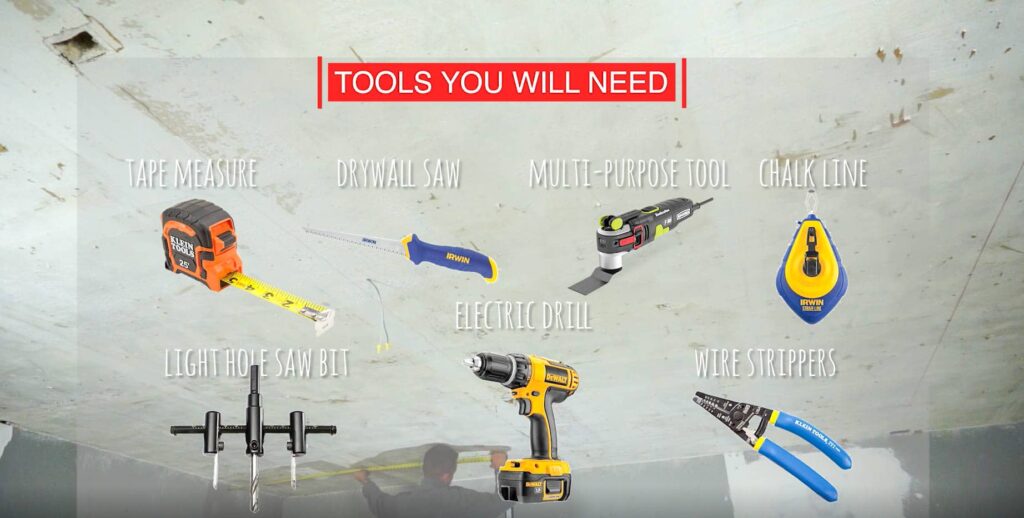
• Recessed lights
• Cordless drill
• Drywall handsaw
• Chalk line
• Ladders
• Recessed light hole saw drill bit
• Wire Strippers
• Romex wire
Step-by-step Guide on How to Install Your Own Recessed Can Lighting At Home
Follow the steps below to install your kitchen’s recessed can lighting.
1. Layout and measure first
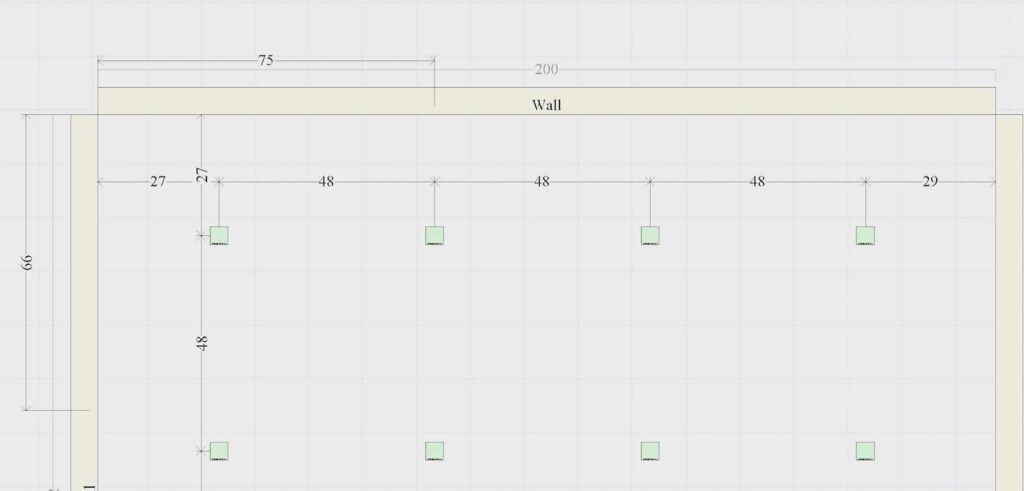
When you look at the room’s floor plan, remember that for best appearances, keep lights about 24 to 36 inches away from the wall to prevent shadows. Keep track of this measurement; we’ll call this “A.”
What’s the best distance between lights? Dillon recommends finding that distance by dividing the room’s height, from floor to ceiling, by 2 to get the result.
In this case, the room’s height is 8 feet, so half of this is 4 feet. Keep track of this measurement, too, and we’ll call this “B.”
This distance will not only keep these lighting fixtures looking uniform without bunched up in one area of the ceiling but also evenly distribute the lighting throughout your room.
Based on this information, we now have a lighting grid in our plans that looks like this:
With this mapped-out grid, find the locations of the first and last lights of each row. This will be needed in the next step.
2. Snap chalk line
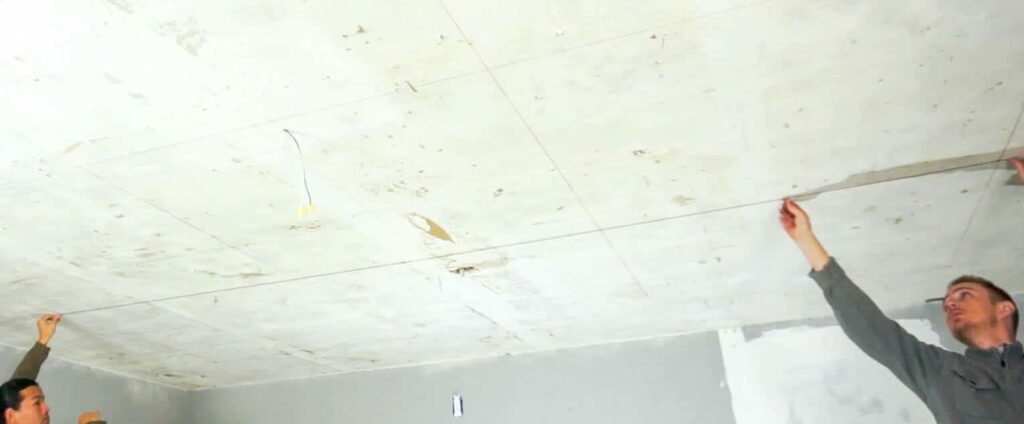
Using a chalk line, recreate the mapped grid on the ceiling (Ryan, I would suggest adding an image of our architectural plans to show our layout).
You may want assistance and a couple of ladders. Be mindful when snapping the chalk lines onto the ceiling; chalk lines are difficult to undo.
However, we have a system to help you keep this all straight. This is why you need to find the first and last lights of the row in the previous step and the measurements we asked you to track earlier.
On the grid, the first light will be “A” inches from the wall. Mark this on the ceiling.
The final light position in the same row is “B” inches multiplied by the number of gaps between lights. In our case, there are four lights in the row, so there are three gaps between those lights. Using a bit of math, our “B” measurement is 4 feet, so 4 feet x 3 gaps = 12 feet.
Mark the point of the last light. Take the chalk line reel and snap it against the ceiling to mark a straight line on the ceiling.
Continue to mark all the different rows and columns until you form a grid for your light positions.
3. Drill holes into each intersecting chalk line using a recessed light hole saw a bit
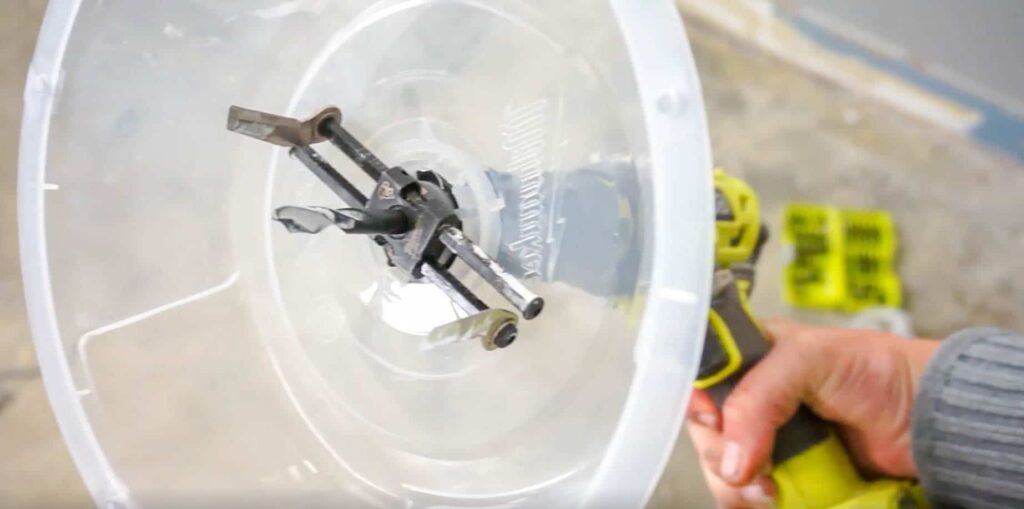
Use a recessed light hole saw drill bit and adjust the size to fit the housing size. For this installation, these are 4-inch cans, but the housing unit is 5 inches, so we will adjust the drill bit for 5 inches.
Line up the drill against the intersection. The drill bit will take care of the rest and create an appropriately sized opening for your lights.
4. Daisy chain lighting technique
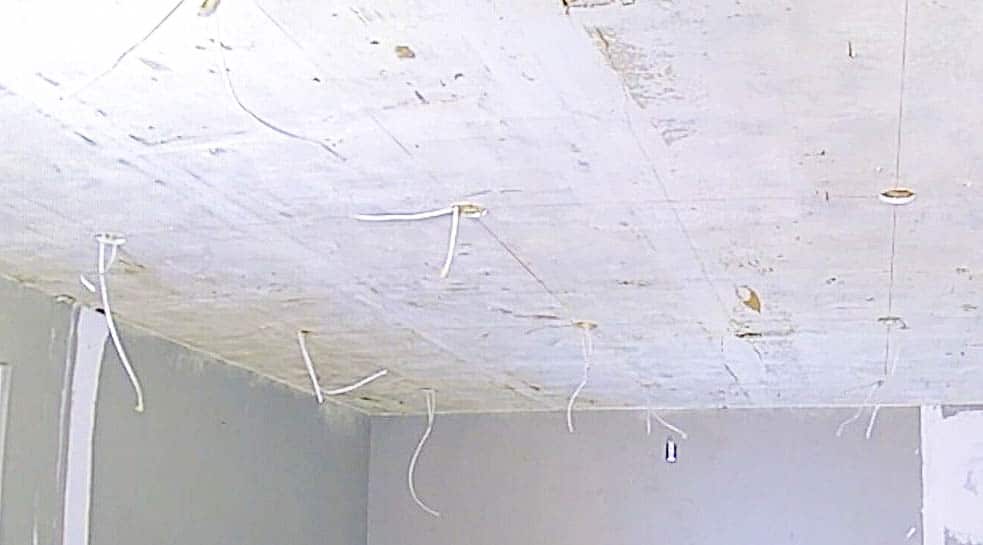
For our lights, we decided to connect them in a daisy chain because we want all of these lights to turn on simultaneously at the flip of a single light switch.
This means that the power source or junction box will be wired to the first light, then a wire connects from the first to the second light, then a wire connects from the second to the third light, and so on.
Looping the final light back to the power source is unnecessary. As long as all the lights are connected to each other, the power will reach all of them.
5. Connect the wiring
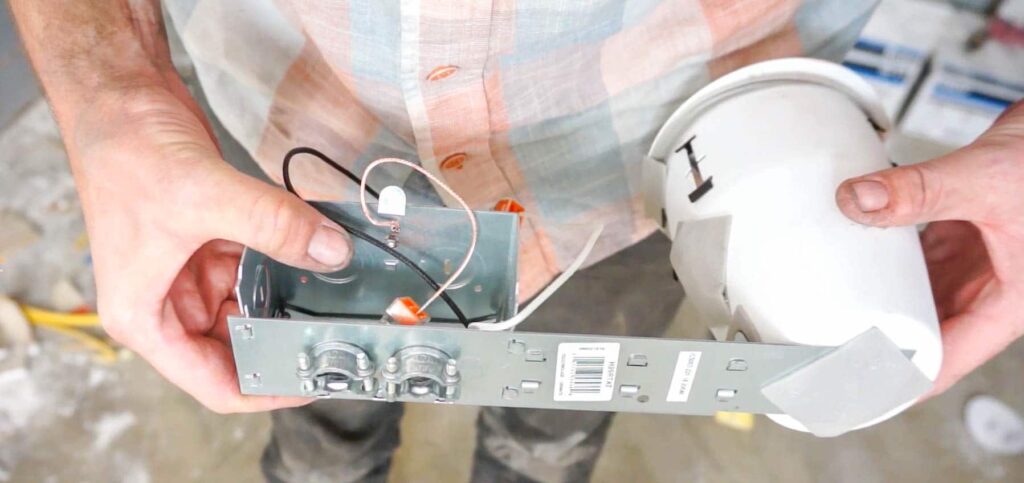
From the power source, attach the Romex wire to the metal casing of each recessed light with a combination clamp connector.
Strip the casing from the wires with a wire stripper and connect the wires to their corresponding colors: Connect black wires together (power), connect white wires together (neutral), and connect copper/orange wires together (protective ground).
6. Secure the recessed lighting fixture into its place
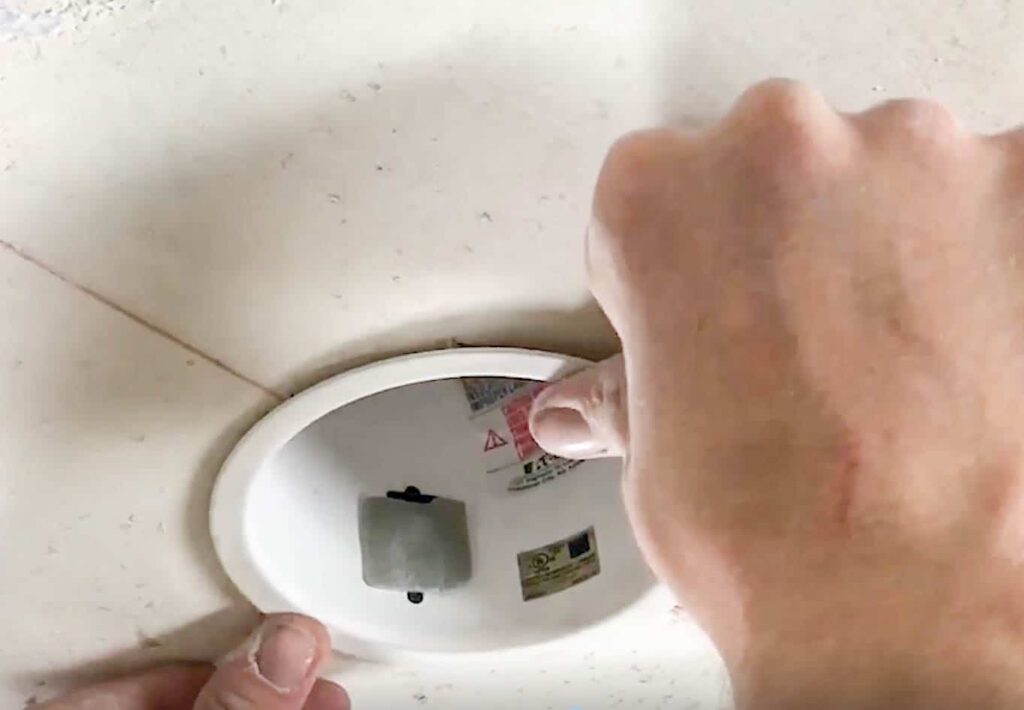
If necessary, alter or adjust the hole of the housing using a drywall saw so that it fits snugly into the hole. Also if necessary, move out any insulation or other impediments out of the way.
On the sides of the recessed lighting fixture, there are gray tabs that you press to adhere the fixture to the drywall in the ceiling. You may need a hammer and a flathead screwdriver to secure those tabs. Make sure that the fixture is flush with the ceiling.
Repeat for each lighting fixture in your grid.
7. Plug in the trim and the light
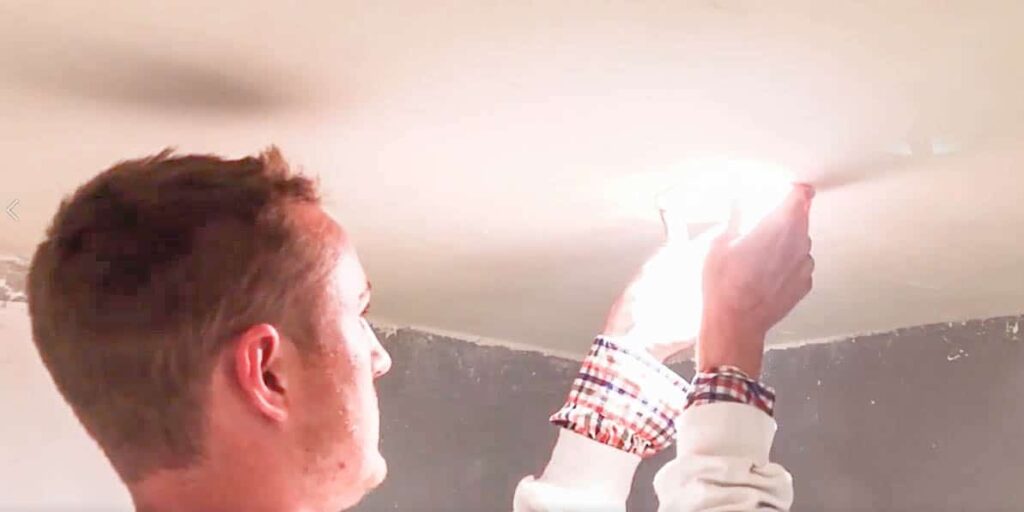
Screw the socket adapter, which is included with your can, into the housing. Then, attach the trim with the light in it that cleans up the look of the housing by the metal clips.
Repeat for each recessed can fixture and your project is complete! For more of Best Online Cabinet’s remodeling articles, check them out here on our blog!


