Most people assume that once an air conditioning unit is installed, it can’t be uninstalled unless you are willing to deal with a big unsightly gap in your wall. However, sometimes the AC unit is old, there are other ways to cool down the house or you just don’t want that appliance there anymore.
How to Remove a Wall Air Conditioning Unit and Restore the Drywall
In this DIY, we show you how to remove an unwanted air conditioning unit and restore the surface of the wall by installing drywall to reclaim your wall space back.
Preparing to Reconstruct That Wall
This is what you will need for this DIY project:
-Drill with Phillips head drill bit
-Drywall, same thickness as your current wall (most commonly ½ inch), cut to size
-1” x 1” thick common wood used for drywall backing, measured to size
-Joint compound such as 20-minute mud
-Mudding knife
-Drywall mesh tape
-1 5/8” drywall screws
-sandpaper (recommended 120 to 150 grit range)
-measuring tape
-level/straightedge
Step-by-step Guide on How To Remove Air Conditioning Unit and Restore The Wall
Follow the steps below to safely remove the wall air conditioning unit in your space.
Step 1: Remove Face Cover and Air Unit
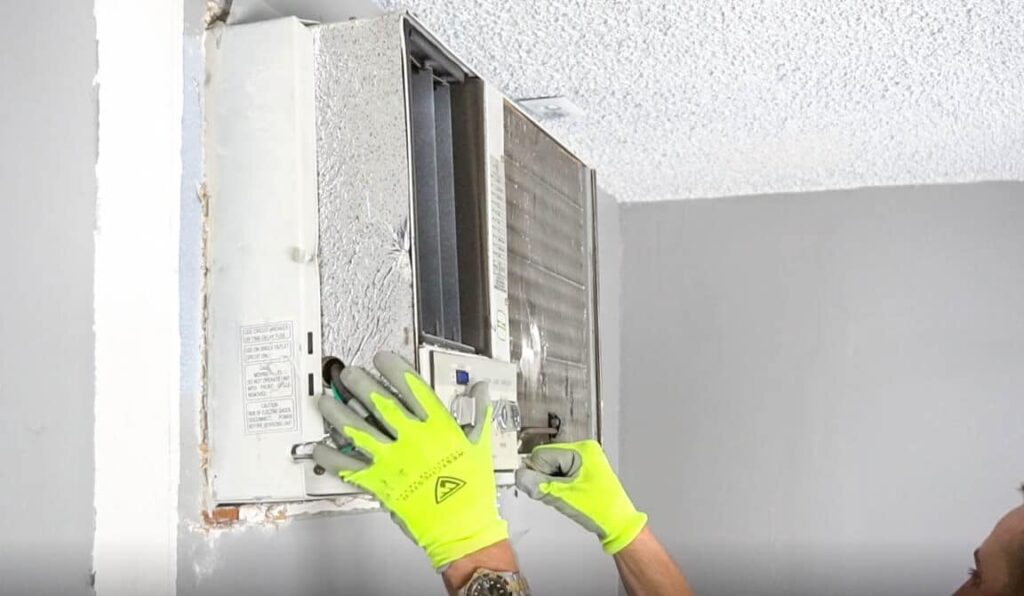
After removing the facing of the air conditioning unit, carefully slide out the body of the unit from its mount. Air conditioning units are heavy, so assistance is recommended.
Step 2: Remove Air Unit Housing Frame
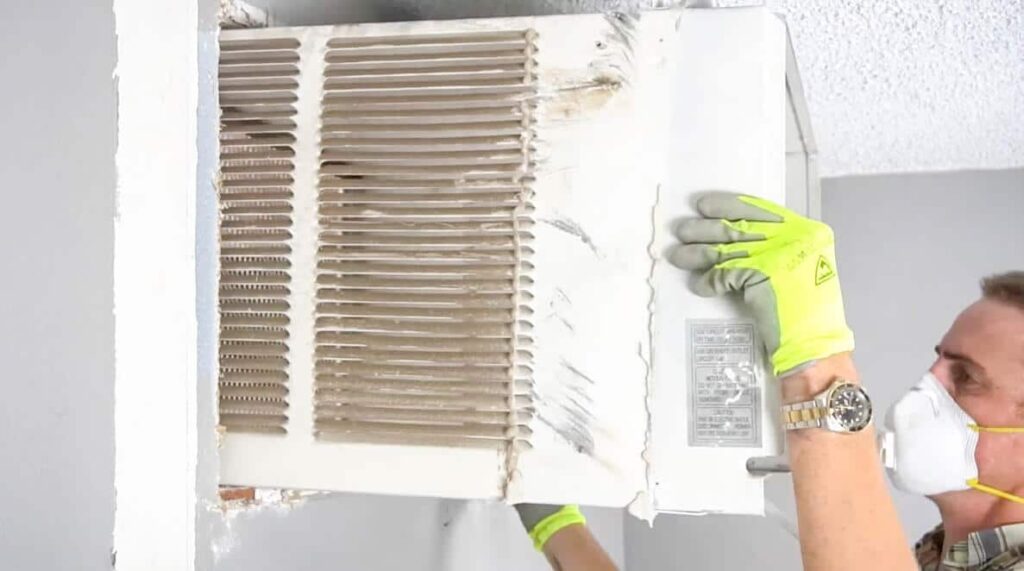
Remove the screws securing the frame to the walls. The frame should be easy to pull out.
Step 3: Install Drywall backing
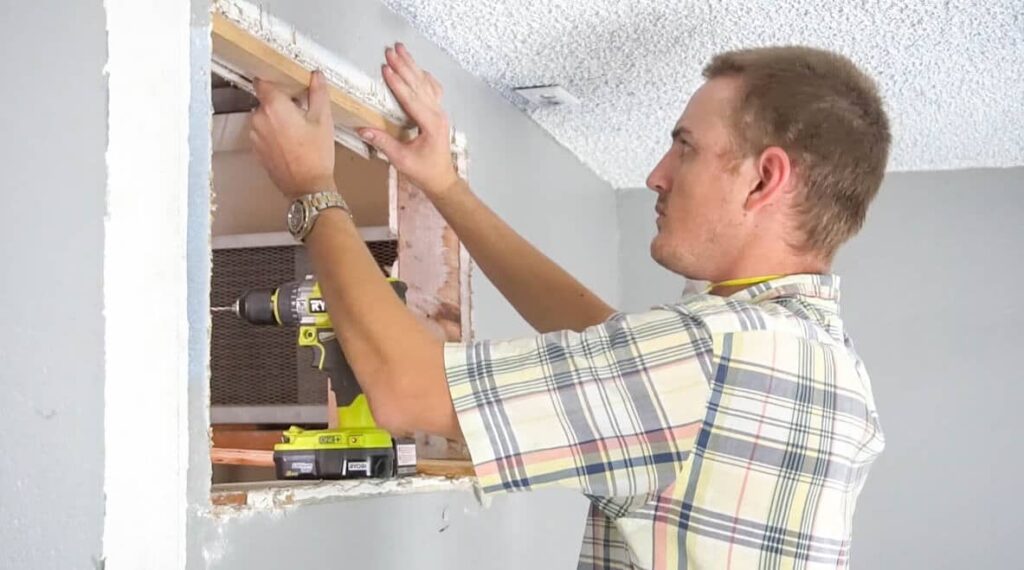
Measure the four sides of the vacated by the frame and cut four pieces of 1”x 1” stock wood to the measurements. It does not need to be cut perfectly to size because it is simply acting as backing for the drywall to screw into. Secure the wood backing with drywall screws, attaching to wall studs when possible.
Make sure when mounting the backing, the backing needs to be recessed to account for the thickness of the drywall piece; the backing should support the piece so it matches the same flat surface of the current wall.
Step 4: Cut Drywall Piece
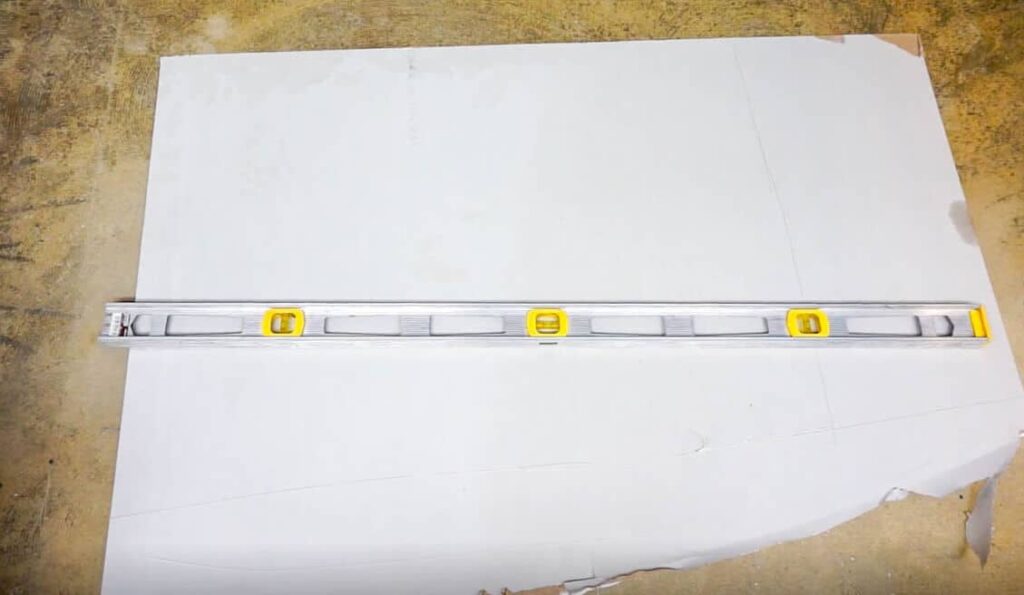
Cut the piece of drywall, which should be the same thickness of drywall as your current wall. Drywall can be cut by scoring, using a utility knife or a saw to cut the piece to size.
The piece should be around ¼” inch less around the perimeter of the opening to fit into the gap. Use a straightedge or level to make sure the piece fits into the openings and that the corners align.
When putting the drywall piece into the opening, you run your hand across the piece and the wall to feel if they are flush. It should feel like one continuous wall with a bit of gap.
Step 5: Install Drywall Piece
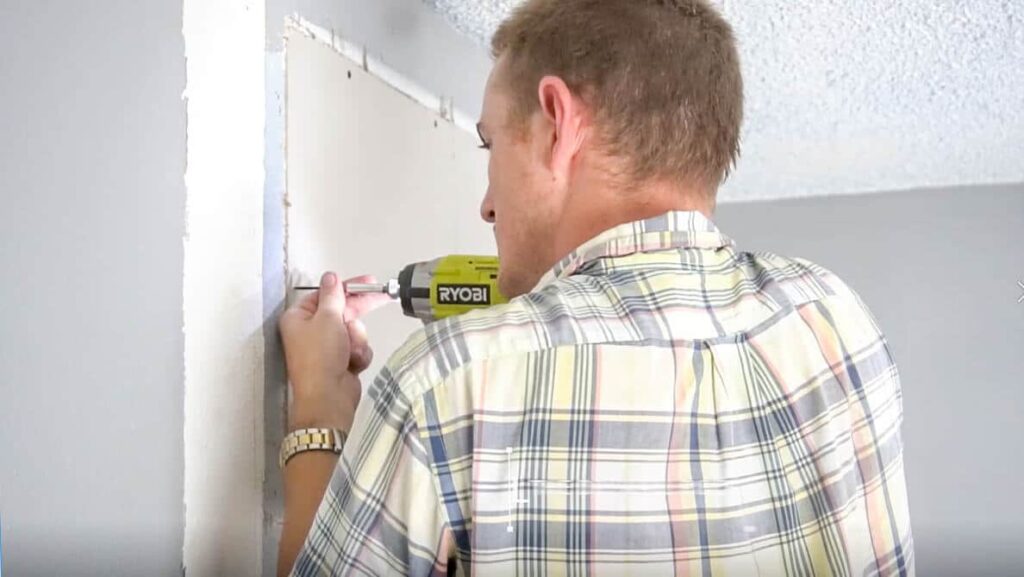
Screw the edges of the drywall piece to the backing you installed earlier all the way around. It is recommended that these screws are spaced between 2-4 inches apart for a small piece like this, and 6-8 inches apart for a full 8’ x 4’ inch piece of drywall.
It is more important the screws secure things in place without using more screws than needed; more screws on these edges may compromise the stability of the gypsum of the drywall.
Step 6: Mud Drywall Joints and Screws
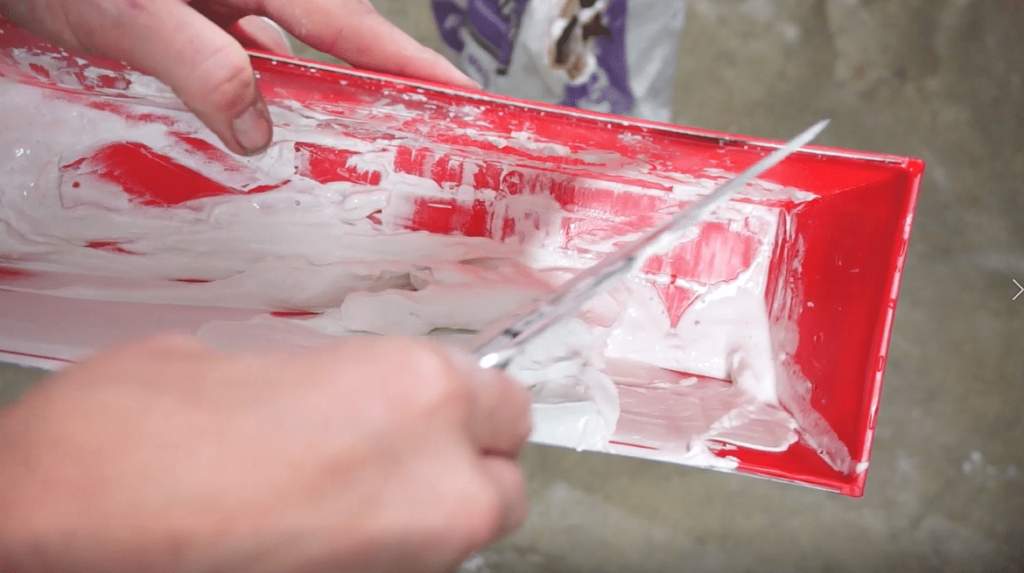
Cover the gap between the wall and the drywall piece with drywall tape (mesh tape) all the way around.
Use a putty knife to apply joint compound or spackle over the gap. Apply the compound to all of the drywall for consistency, but the emphasis should be over the gap.
Joint compound can stiffen in as little as 20 minutes, so work fast. Apply between 2-3 coats, sanding after each coat, until the wall is completely smooth to the touch.
Step 7: Sand the Compound
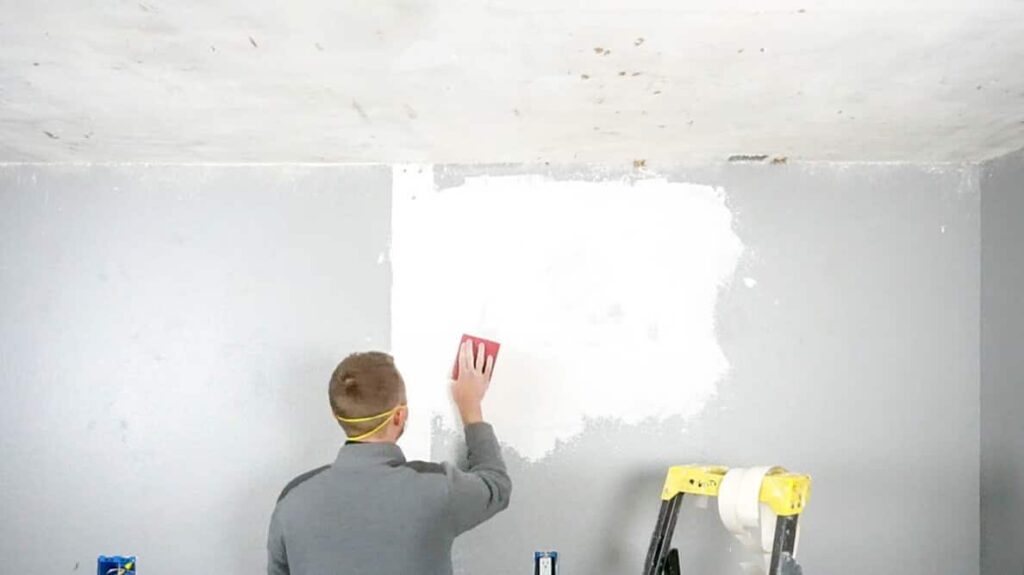
Once dry, buff the dried compound with sandpaper to make the surface even. This area is now ready to be painted over.
Check out more remodeling tips and videos here on our Best Online Cabinets blog!

