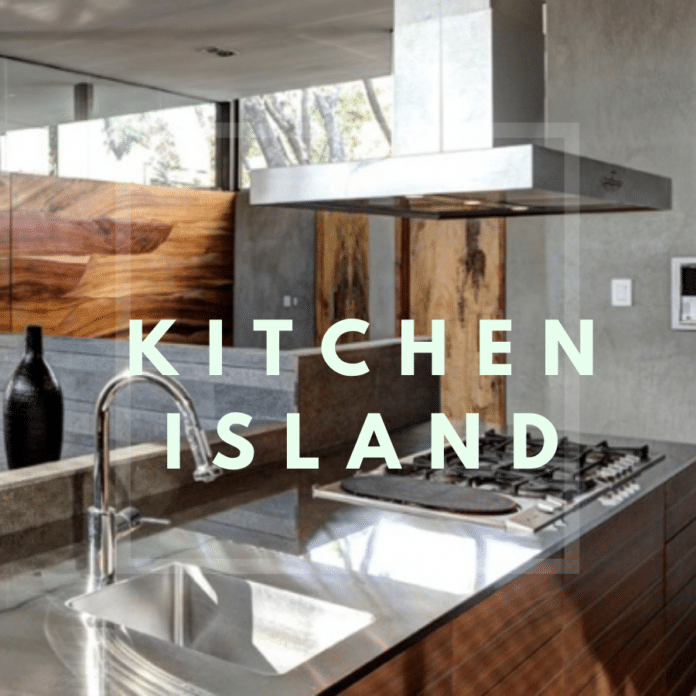
Kitchen islands are extensions of regular cabinets. Though the space needed for a kitchen island or peninsula is large, it is versatile in construction and use. There is no one way to build a kitchen island. With the ability to create flowing countertop waterfalls, unique layouts and designs can be achieved.
Things You CAN Do When Designing a Kitchen Island
Here are the things you can do when designing a kitchen island for your home.
Kitchen Island Cabinets
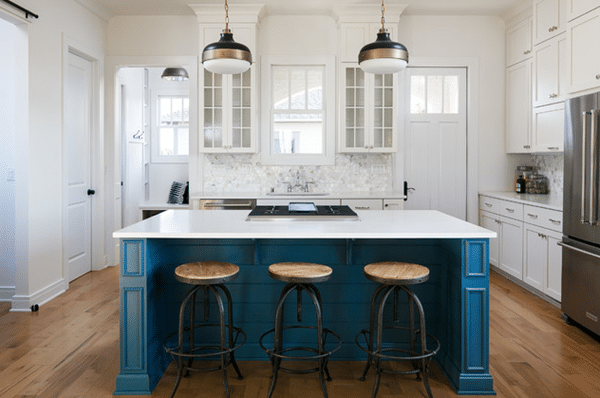
The island will use the same cabinets as regular kitchen cabinets. However, people can experiment with the cabinets by changing their styles. How so?
Many people who opt for multi-colored cabinets will choose a second color, like grey, to complement white shaker cabinets.
Wall cabinets can be used on the back end of the island rather than just base cabinets to add space for kitchen seating. Base and wall cabinets can be used to make a kitchen island.
Like the base cabinet dimensions, the kitchen island is 34.5″ tall (36″ with the countertop). Wall cabinets must be built with a plywood 4.5″ base.
Countertop and Waterfall Edging
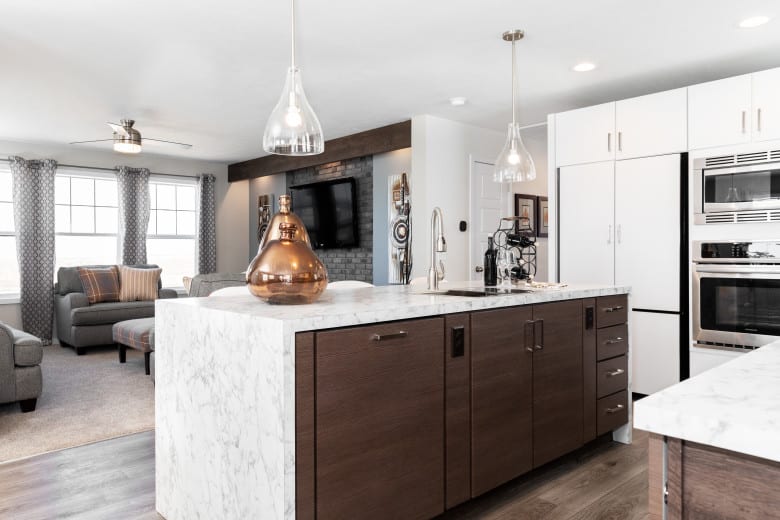
The surface is used for kitchen cabinets and islands. Similar to the countertop used as a backsplash, a countertop can be added on the sides of the cabinets. Having the countertop flow from the top down to the sides of the cabinets creates a waterfall edging.
This can be added to the sides of cabinets but is more common on kitchen islands. Countertop pieces with intricate veining can show more dynamic features here as the pieces will rarely be split up compared to traditional L-shaped kitchen layouts.
Even in smaller kitchens, joining two pieces at the sink or a corner is very common and may end up splitting up intricate veining a stone countertop may have.
Electrical Outlets (optional)

It’s a big project, but some people need and want outlets on their kitchen islands. This may be for additional food preparation for countertop appliances. The island is also a place for entertaining guests, so access to charge handheld devices may be desired.
Putting outlet ports on a kitchen island is not an easy task, as setting it up after the demolition phase is required. An electrician or handyman will be needed to move electrical wiring.
Water Line for Sink (optional)
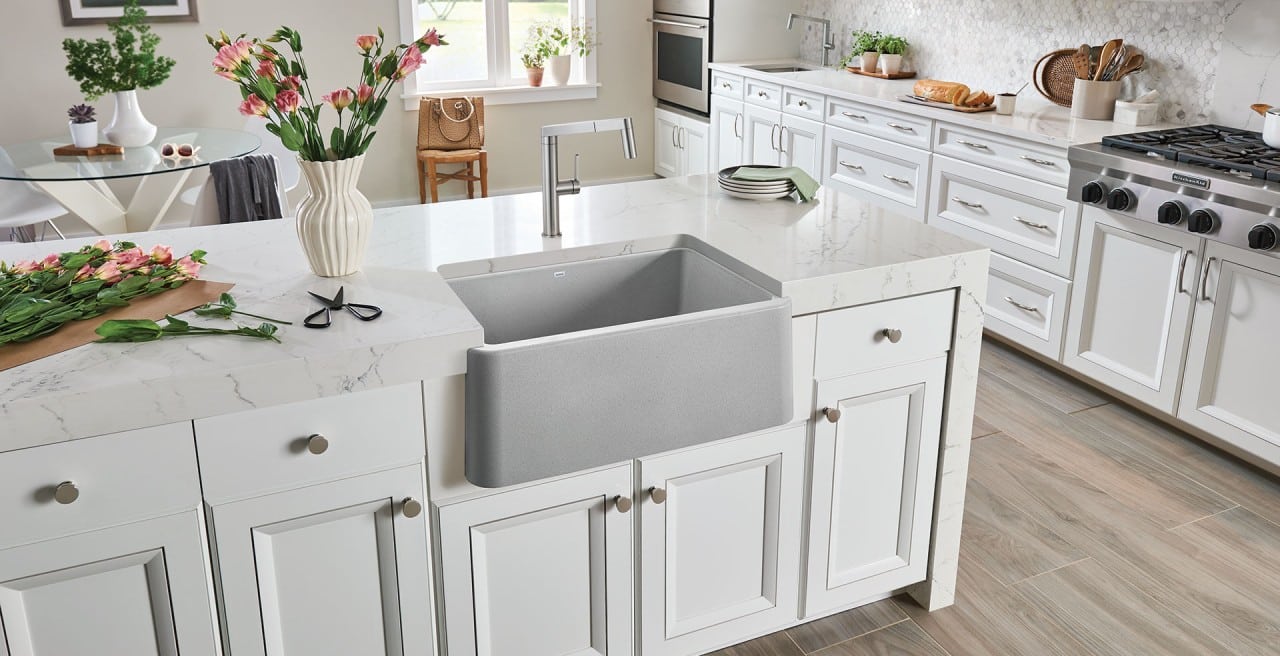
Kitchens with a lot of activity may potentially need a second sink. The sink could be used by guests or a second prep area for food. It is rarely a full-size sink for the second, typically a bar sink.
This refers to the basin being much smaller than a traditional 30” sink. The bar sink, often called a prep sink, is located on the island for customers who prep big events in the kitchen and need multiple people to prep the food all at once.
So how about moving the actual sink to the kitchen island? This methodology is actually viable. Some people want to have a detailed countertop without having the sink separate or take away from the intricate veining. To have a sink on the kitchen island, the water line has to be moved to the spot where the cabinet housing the basin will be.
A contractor is needed to move the line based on specifications. When designing the kitchen, you can specify where the sink will be and inform the contractor about the new location.
Gas Line for Stovetop (optional)
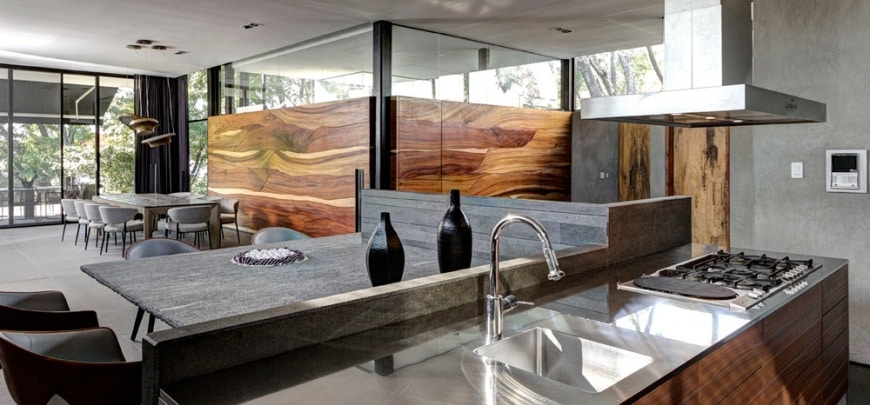
The same reasons a person wants to move the sink to the island also apply to the range. Having the range on the island allows one to prep and serve food for guests in the seating area. This option is perfect for hosts who constantly have guests over.
Like the water line for the sink, the gas line would have to be located in the center of the range. This option is more tailored for stovetops because of the sleek modern aesthetic the setup creates.
Countertop Materials
A kitchen island can be set up for many different possibilities.
- Food Prep
- Additional Storage
- Breakfast Nook
- Dinner Table Replacement
- Movable Island
What NOT To Do When Designing a Kitchen Island
Although there are possibilities for being as creative as possible here, one should avoid doing so. Kitchen cabinet showrooms may sometimes feature a very advanced and complicated kitchen island design.
As tempting as it may be, customers planning to remodel their own kitchen should not design one like these. The amount of materials, space, and time to set these up can drive up the cost one expects on the remodeling cost. Here are some things to avoid when creating a kitchen island:
Do Not Go Crazy With Waterfall Edges
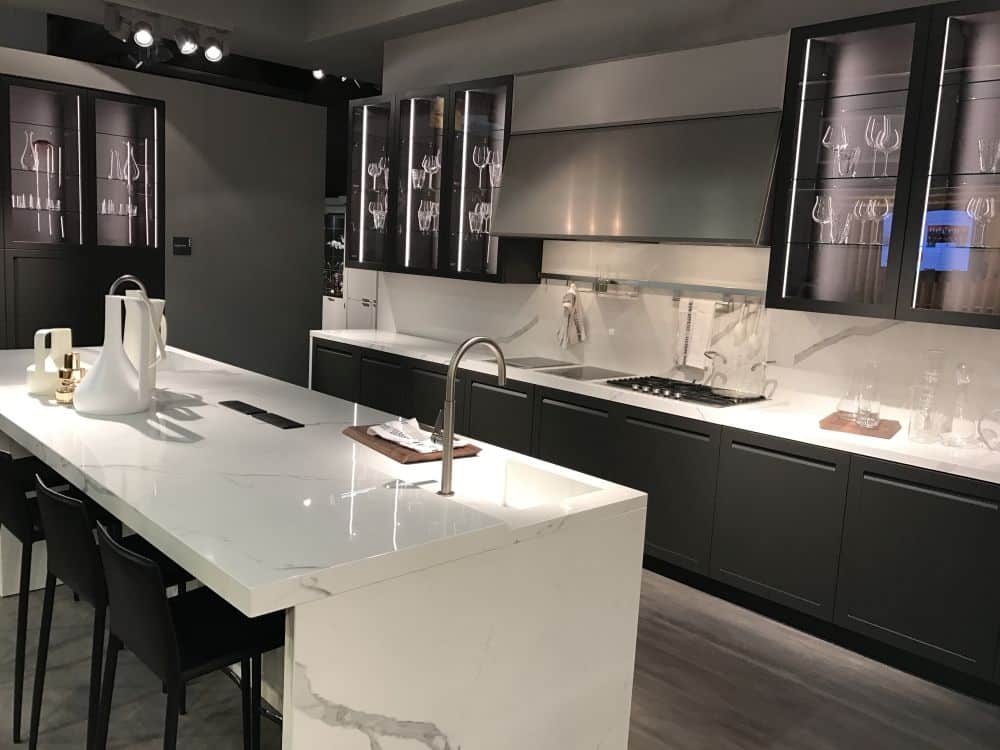
Waterfall edging is very pleasing aesthetically but also extremely costly. When two countertop edges meet, the installer needs to finish that section so it is smooth to touch. Additionally, every section of the waterfall requires a countertop to be applied vertically.
At the bare minimum, having two sides of a kitchen island with a waterfall would be 36” tall and will need almost a full piece of countertop in addition to what one is currently purchasing.
When purchasing a countertop for a kitchen island, remember that it is not the standard-size countertop like the rest of the kitchen. The countertop must be 36” or 42” x 96”.
Do Not Go Past a 9’ Long Kitchen Island
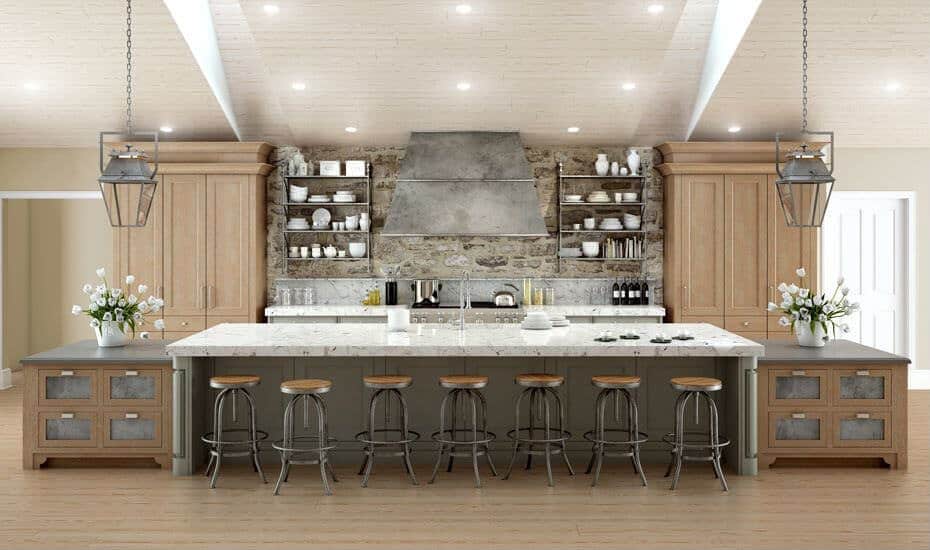
A kitchen countertop will have a seam commonly at a corner or a sink. The reason is not to show a noticeable seam line between the two pieces.
An elaborate countertop with complicated veining will be extremely noticeable with the seam line. A prefabricated piece of countertop is 9′ long. This measurement would also count in the overhang as well.
An overhang hangs over 2″ off regular cabinets, which means cabinets should not be longer than 100″.
A kitchen island with complicated veining or a dark countertop will have a very visible seam. Besides that, an 8-foot island is very long. One is much better off having more cabinets around the kitchen walls than a long island.
Avoid Making a Table Using Only Countertop
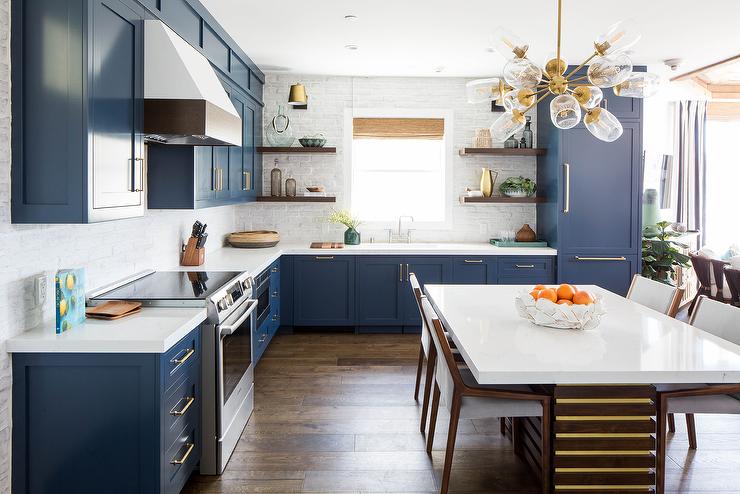
Countertops, especially quartz and granite, are extremely heavy pieces. The plywood cabinets are strong enough to support the weight of the countertop, but they need support.
The countertop overhang cannot extend very long without a form of support holding the weight, so the idea of creating a table is not ideal. The countertop overhang can go up to 12″ at max. Any more will require a leg post to hold up the free-floating weight.
Cost-wise, countertop pieces can be extremely pricey. When selecting island-size prefabricated pieces, each piece can be double the price of a regular countertop or more. This can be drastically more expensive than a regular table.
Although kitchen islands can be focal centerpieces of a kitchen, they should not replace a family dining table. A typical dining table may end up a fraction of the cost of a custom island with an overhang seating area. Unless one is fully committed to the idea of an elaborate kitchen island with a full seating area, do not invest in a countertop table area.
Avoid Choosing a Multi-Tiered Kitchen Island
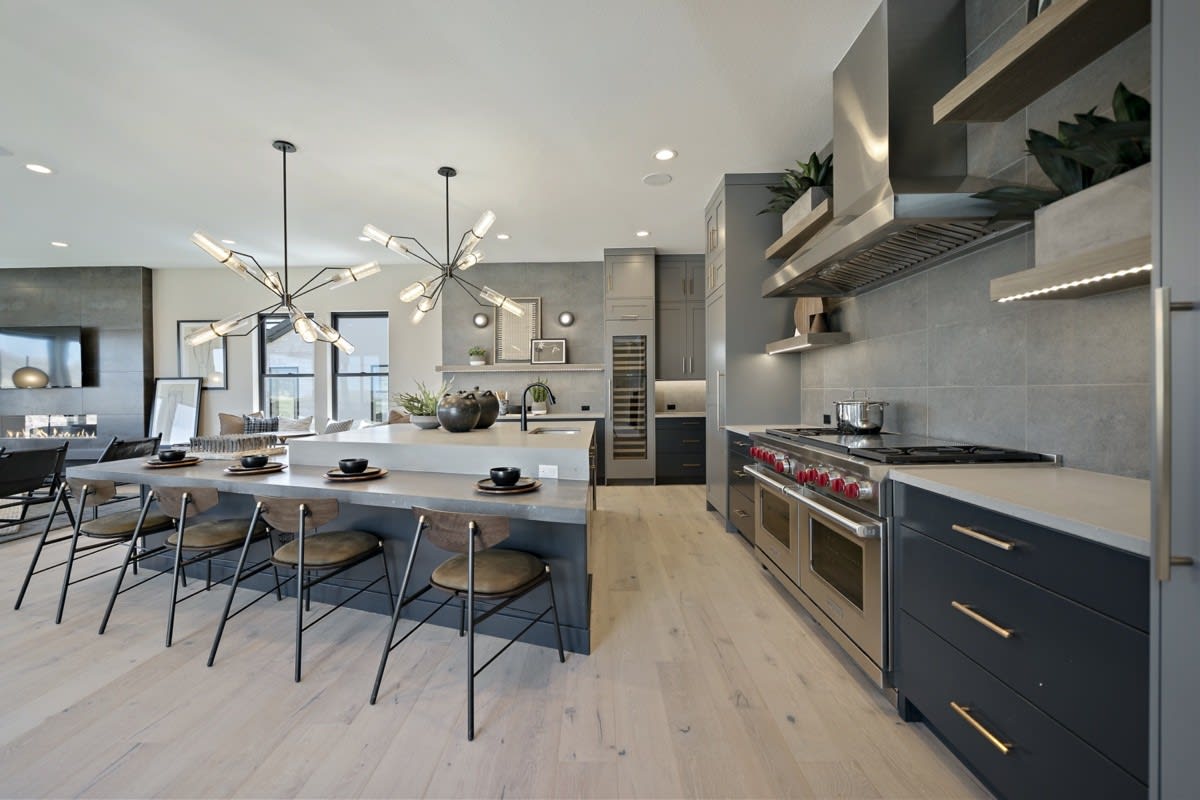
With the countertop’s cost, it’s best to avoid having a multi-tiered kitchen island. Since typical cabinets will end up 36″ tall, it will be too tall for regular chairs to match that height. People will have barstools instead of seating areas.
What about regular chair height? That would require a lower-level countertop. A waterfall effect from cabinet height down to the lower seating area height would achieve this.
Finishing the edging for each piece needs a lot of work to create a smooth transition. Similar to the waterfall edge, the edges need to be cut at a 45-degree angle to align both pieces together.
As the height of the lower seating area cannot be supported by cabinets, a waterfall edge from the floor can help hold one side. The amount of material and finished edges add a lot of costs for the kitchen.

