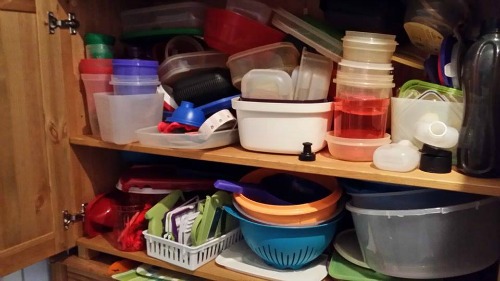
It’s like a scene out of a comedy – a character visits a slob at his residence, opens a cabinet, and is pummeled by an outpouring of junk. Laughter ensues.
It’s just as good for a laugh in the real world, too, but nobody wants that kind of attention. It’s the classic case of knowing when the laughter is at or with. Avoid the humiliation.
Step-by-Step Guide on How To Organize Kitchen Cabinets
Say you have a date over, and she opens a messy cabinet where an assortment of monster car models is immediately visible. She’ll think she’s having a date with a child. Whether they know it or not, women feel safer with a man who portrays a sense of domesticity.
So, before something like that happens, let’s sort some things out – most notably, your cabinets.
Step 1 – Declutter and Get Rid of Unnecessary Items
Start by asking yourself, “What items do I use daily?” What gets shoved to the back?”
Get rid of the items you can do without, and consider how to make your cabinets functional, organized, clean, and even attractive.
Start by removing everything from your cabinets. Like any other project, beginning with a clean slate is best.
Place all your plates, glasses, mugs, pots, pans, and all other kitchenware on the kitchen table. Now, let’s look at each item – what do you need, and what can be tossed?
Who knows what you’ve pulled out of there – a decade-old box of straws, random paper plates, and about two dozen shopping bags? Despite whatever amusing things you find, it’s time to drain the swamp.
Let’s narrow this collection down to what you will actually use. Anything else, presumably, is unnecessary clutter.
If there are items that aren’t crap in decent condition that you simply have no use for, consider dropping them off at your local Salvation Army.
Step 2 – Clean Your Cabinets
{Picture reference to Home Depot}
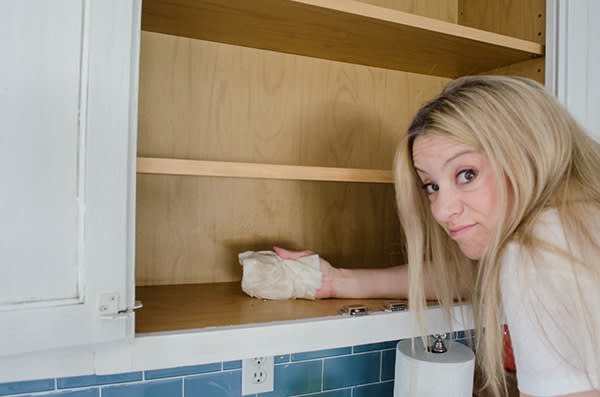
The next step is all about cleaning. It’s not often you get your cabinets completely empty, so let’s take advantage and clean ‘em thoroughly.
Get your supplies and go to town. Clean all the crumbs, dust, and weird residue, and wipe the cabinet doors down. These efforts will later help keep bugs out while keeping your stuff fresh and protected.
Step 3 – Add Cabinet Linings
Next up, you will need cabinet linings. These are easy to make yourself.
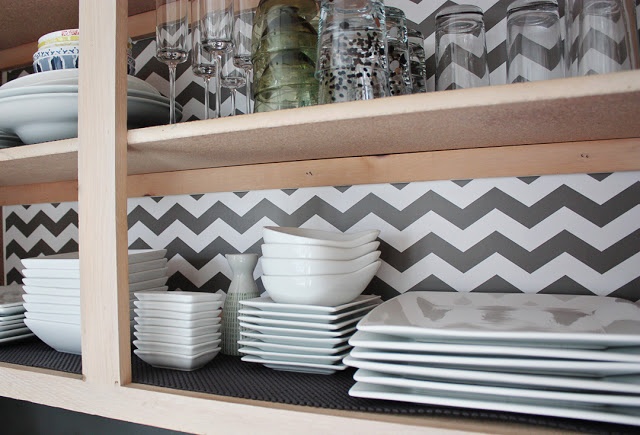
Ideally, they will eliminate old odors and create a fresh and inviting space. You can choose paper, rubber, or vinyl liners in a wild assortment of designs (some even have adhesive baking).
Simply measure your cabinet floors, then cut them to size.
Step 4 – Use Sachets To Dispel Bad Odors and Insects
Ah, sachets.
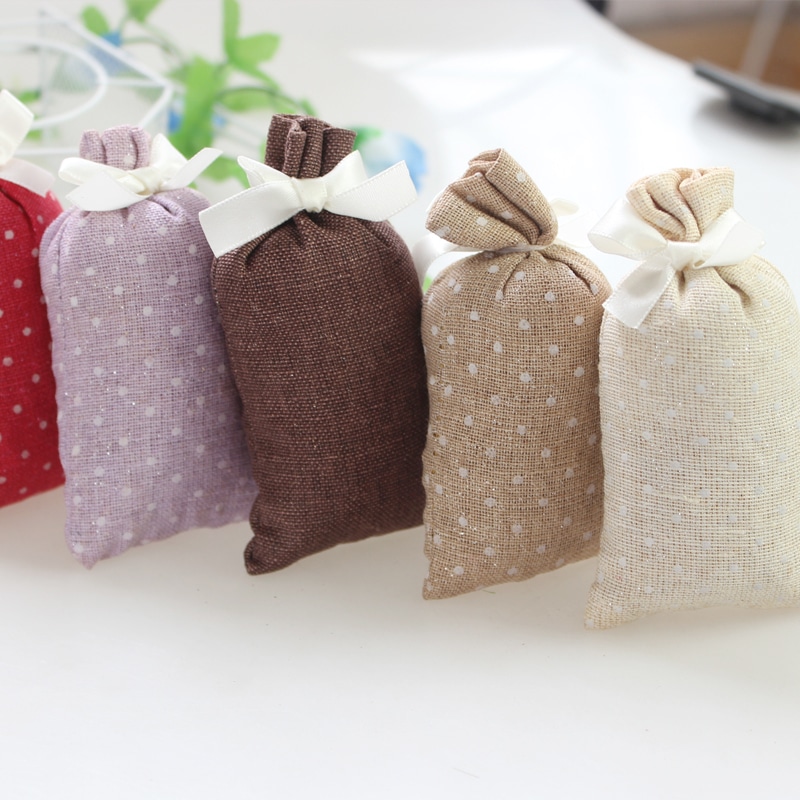
The sachets will help maintain a nice, fresh smell in the cabinets. Customize them—pick out a few dried herbs and spices and place them in small bags that are drawn shut. Even certain herbs, such as eucalyptus, tea tree oil, or lemon oil, deter insects.
Fill the sachets with baking soda to absorb an assortment of bad odors. You must put the sachets in the corners of your cabinets, whichever route you pursue.
Step 5 – Utilize Utensil Organizer
Finally, we can consider returning the items to their cabinets, but let’s do it wisely. While it’s not necessary to purchase organizers, they can’t hurt.
Part of the overhaul’s purpose is to reduce clutter, so why not implement a utensil organizer? They’re only a couple of bucks, and it beats having loose forks and knives lying around.
Install tea—or coffee cup hooks for a nice touch that takes advantage of unused space. You may mount them to the underside of the cabinets so they hang just over the countertop and are easily accessible. This is particularly decorative if you have an attractive set of cups to display.
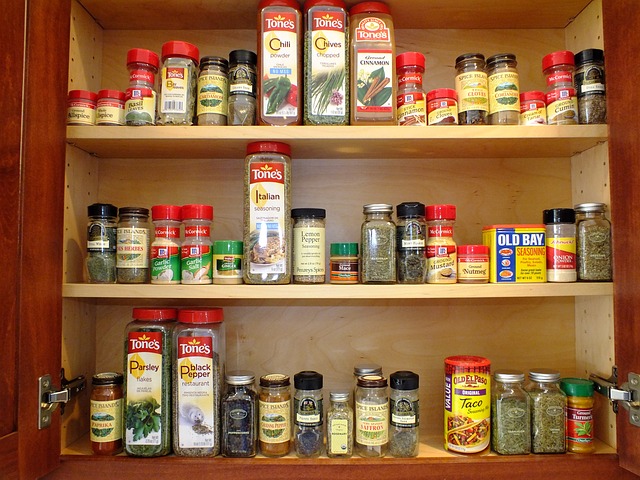
Put your dry goods in canisters. Store flour, sugar, spices, and other food items in the cabinets in tightly sealed food containers (to keep insects and air out).
Step 6 – Organize Items by Type
Now that you’ve deleted a few things, thereby reducing the volume of cabinet contents, organize the remaining items by type.
Put all glassware together, separate the stemware (wine and champagne glasses) into their own group, combine plates and bowls (stack salad plates over dinner ones), and collect the fine china and seasonal pieces.
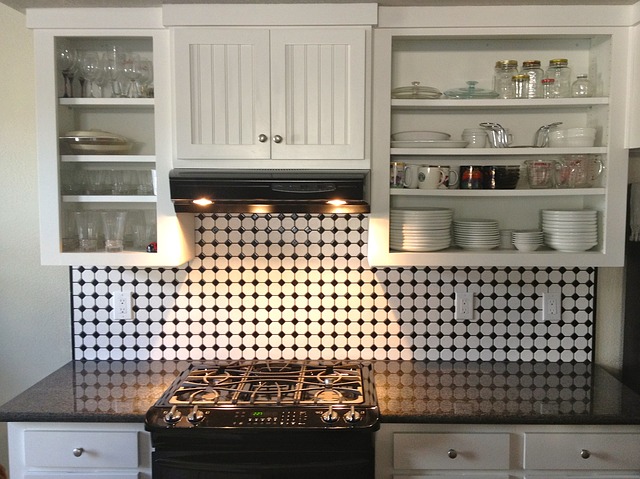
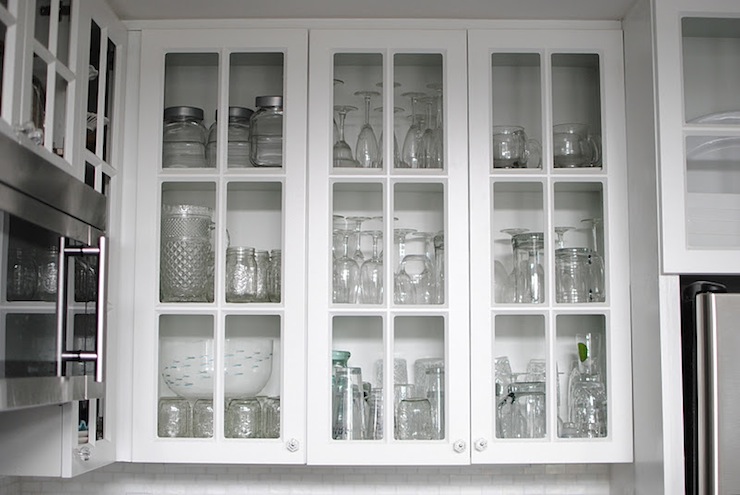
If you are working with glass-front cabinets, you’ll want to organize the items to feature the ones you want visible. Of course, the most useful dishes should be the easiest to access. This would likely include dinner and salad plates and cereal bowls.
The bottom of a top cabinet (above the counter) is typically best suited for the average-height person. Meanwhile, gather all drinkware, such as glasses, coffee cups, and mugs.
The higher shelves are ideal for your valuable and fragile items. They’ll be safer and should be arranged to be handled with care. Handled carefully, your fine china, stemware, special serving dishes, etc.… should be placed out of easy reach.
{Picture Reference to Houzz}
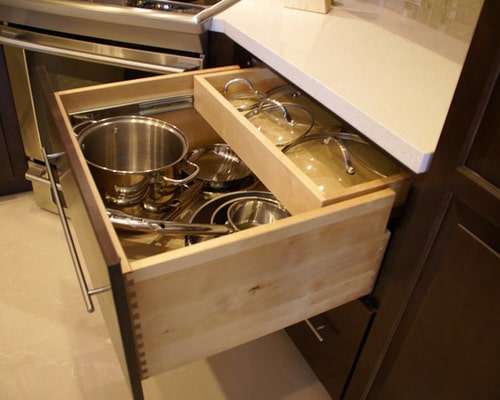
Since pots and pans are somewhat cumbersome and don’t stack neatly, placing them in the lower cabinets is best. Put the ones you use most within easy reach, where you won’t have to lift them too high.
Of course, you may consider the alternative of hanging the cookware on a pot rack adjacent to the cabinets. This method of storage facilitates easier organization. Another option, albeit used rarely, is to place the pots and pans on top of the cabinets, assuming there’s room.
Study the area and determine the best place for your appliances. The ones you use most often should be visible on the counter. Others who don’t get as much use may go in a cabinet elsewhere.
And there’s the matter of food. You’ll probably want a food and spice cabinet. It’s best located somewhere separate from the rest of the kitchen apart from the dishes.
A special cabinet just for your extracts, herbs, and spices can be nice, placed within easy reach of your cooking area. A spice drawer may also suffice, but be sure to line it with disposable liners you may replace when it is too littered.
We’ve begun the Law of Designation. There’s likely a row of drawers meant to hold the supplies that don’t belong in cabinets. Decide what sense of placement works best for you. You’ll likely want to keep small tools like can openers and peelers together.
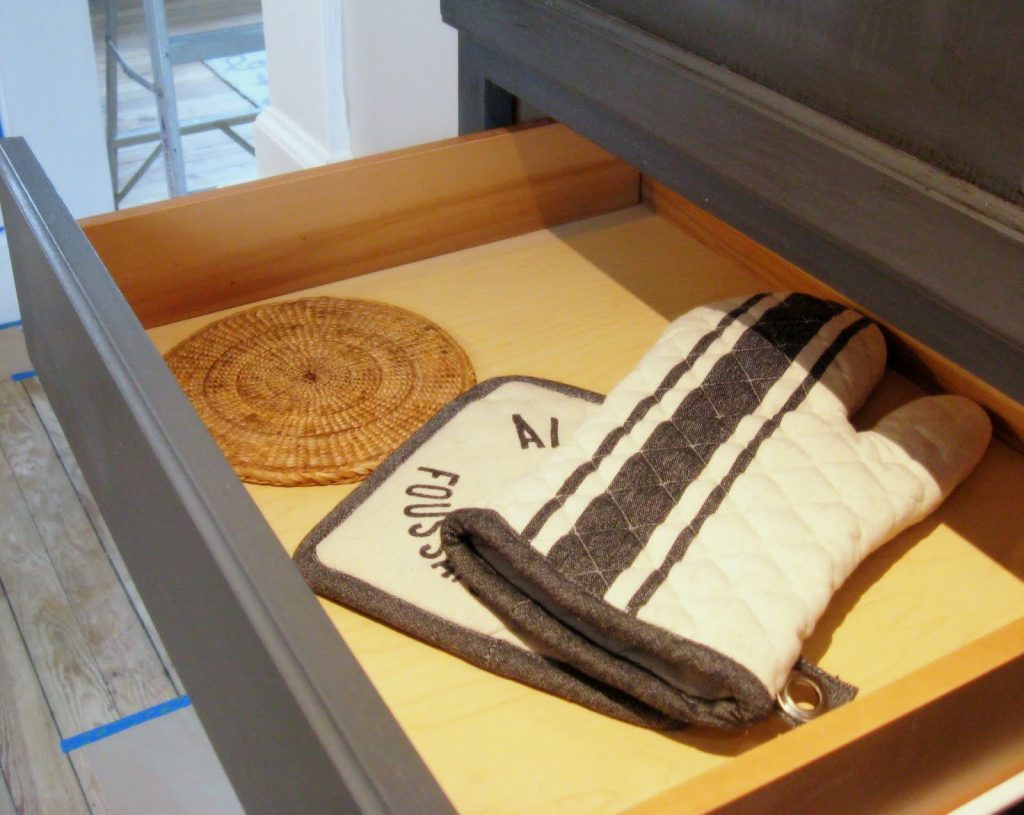
A drawer containing measuring cups, spoons, and other baking supplies is ideal for the constant baker. Towels and oven mitts take up enough space to justify a drawer of their own, and another for accessories like aluminum foil or plastic wrap is warranted.
Of course, you’ll want to save one as the “junk drawer” that will house loose pens, rubber bands, coupons, and a host of other random stuff that you would know how to find there.
It probably goes without saying that cleaning supplies go under the sink. All of it – detergent, trash bags, sponges, etc… typically belong there. No food, no kitchenware; they have their own designated spaces designed to best accommodate them.
An Organized Kitchen Makes Life Easier
An organized kitchen makes everyday living just a little easier. Whether baking a cake or taking out the trash, having everything you need easily accessible in the right cabinets or drawers is a benefit of organization that all modern homeowners should enjoy.

