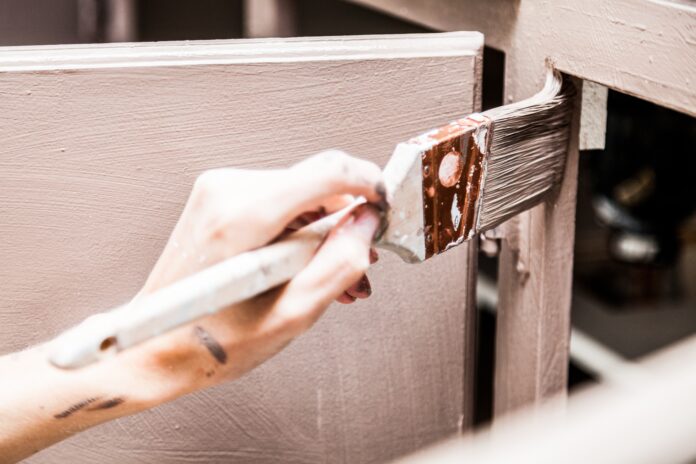
If you want to spruce up your kitchen without breaking the bank, painting your Shaker-style kitchen cabinets is the way to go. You can easily transform your room and make your space feel brand new.
Best Tips and Tricks on Painted Shaker-Style Kitchen Cabinets For Your Home
That doesn’t mean it’s easy. Painting your kitchen cabinets can take up to a few days and has the potential for error. Follow these simple tips to make painting your shaker cabinets a breeze.
Make Sure You’re Working With the Right Material
If you want to paint your cabinets, first assess their current finish. All types of wood are easy to paint, whether they’re unfinished, stained, or already painted, while laminate cabinets aren’t a good choice for painting since the paint doesn’t adhere well to the surface.
Prep Before You Paint
Before painting, make sure to prep the cabinets! Empty them completely and clean thoroughly, removing all dust or kitchen grease. Remove any bits you don’t want painted, like knobs and handles, and cover the hinges with painter’s tape.
Once the cabinets are clean and empty, use a wood filler to repair any imperfections or holes. The lacquer must be removed to remove glossy finishes, and the wood underneath should be sandpapered down. You can use a rotary sander for flat areas like the cabinet door and then switch to sandpapering by hand for the hard parts.
Stay Organized
After you take everything apart, make sure you know where it will go back! Some DIYers suggest using labels to number each piece or writing the location on a piece of masking tape.
That way, once everything is painted and ready to be reassembled, you won’t be standing holding a drawer wondering, “Where did this one go?”. Make sure to also keep all your screws and hardware together in a safe place so nothing gets lost during the project.
Always Use a Primer
Prime the cabinets—a crucial step that shouldn’t be overlooked! Using a coat of primer before painting guarantees better results. Some painters use oil-based primers, while others prefer water-soluble alternatives.
If you’re lightening the cabinets, you might want to try tinting the primer to match your final color for better results, or opt for a thicker, less transparent primer. Remember to sand the cabinets again after priming.
Choose Your Paint Carefully
Choosing the right paint color was hard enough (Pure white? Light blue? Slate grey?), but you have to use the same amount of consideration and care while choosing the paint itself. Spring for high-quality paint and pay attention to the finish!
Matte is usually not durable enough for a kitchen, so you should look for a harder finish like semi-gloss or gloss. For the best results, make sure to apply at least two coats of paint to the cabinets!
Take Your Time
Even though you’re rushing to transform your kitchen into the space of your dreams, neglecting the paint job could result in lackluster results.
Take the time to make sure you’re getting every nook and cranny when painting. Prop the cabinets up so you don’t miss any of the bottom edges or corners. Make sure you start by painting the back of the cabinet doors before the front so that any accidental smudges will be hidden once the cabinets are reassembled.
If you’re worried about leaving brush marks, try smoothing paint out with a foam roller or using a spray gun instead of a brush.
Most importantly, wait until the paint is completely dry before attempting to move the cabinets back into place. It may take days for the paint to completely cure, which is annoying but not more annoying than having to start over because you left a smudge. Patience is a virtue!


